How to make a turtle out of fimo :)

Hello,
I would like to show you how to make this simple fimo turtle, it may look complicated, but it's absolutely the easiest :)


We are going to need 4 different colors: green, brown, white and black. 
  • First step is to divide them like this: 


  • Next we make a shell from the bigger brown ball like this and put small pieces of the smaller brown ball on it so it looks like this: 


  • Out of the green balls we make limbs, tail and the head.


  • After this all we need is to make eyes out of the remaining balls and make a little face. :)


I hope you liked this and that it inspired you to make something similar!
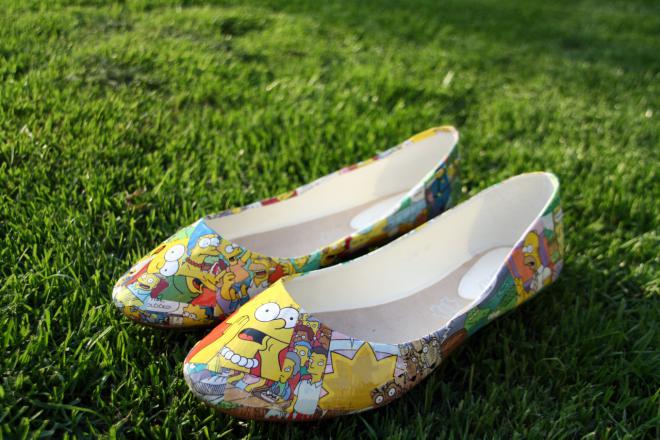
DIY Comic Book Ballet Flats


What we need:

  • 1 pair of ballet flats (preferably a size bigger since they are going to shrink a bit)
  • Glue 
  • Lacquer
  • Scissors 
  • Two brushes 
  • Comic book of your choice 
Let´s get to it!

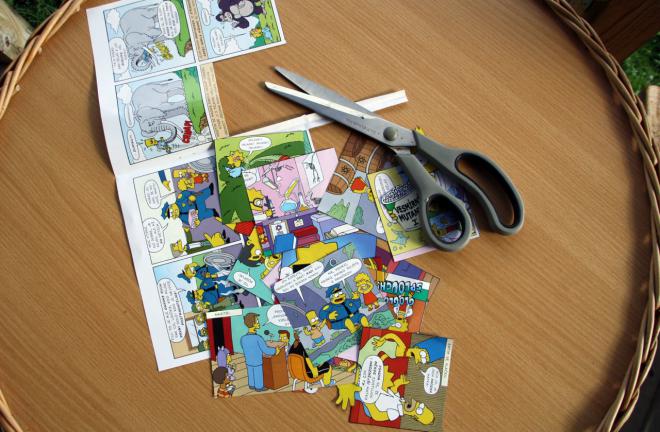
First we need to cut the comic book and choose the pictures that we like best.


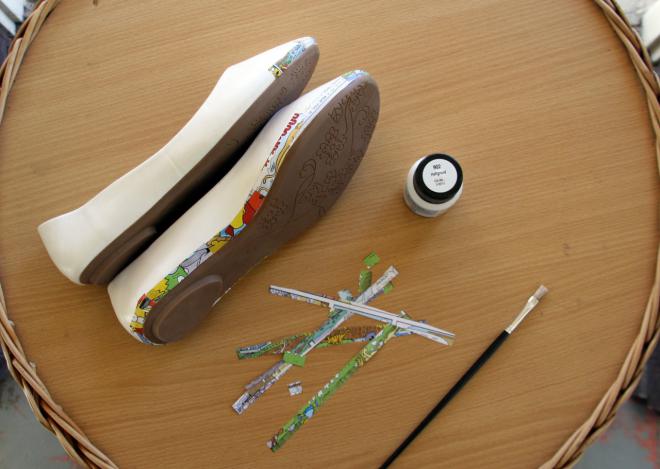
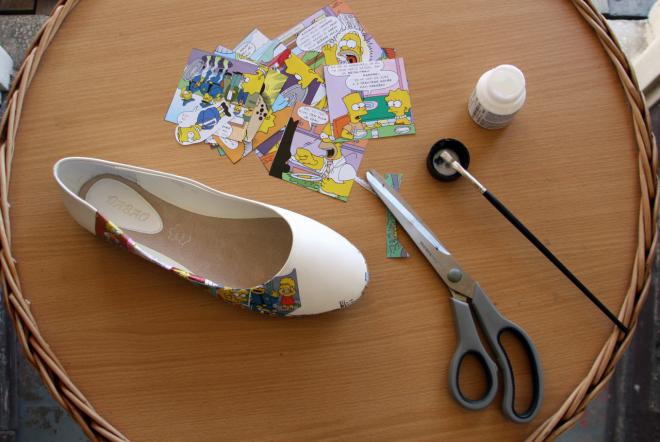
For the bottom of the shoe to be nice, we need some long clippings. We apply the glue with the brush to to the shoe and also on the back side of the image. Next we place the image in place and apply some glue over it as well. We need to repeat this until the paper completely adheres to the shoe. 


We continue this process until the shoes are covered and we like the result. :)


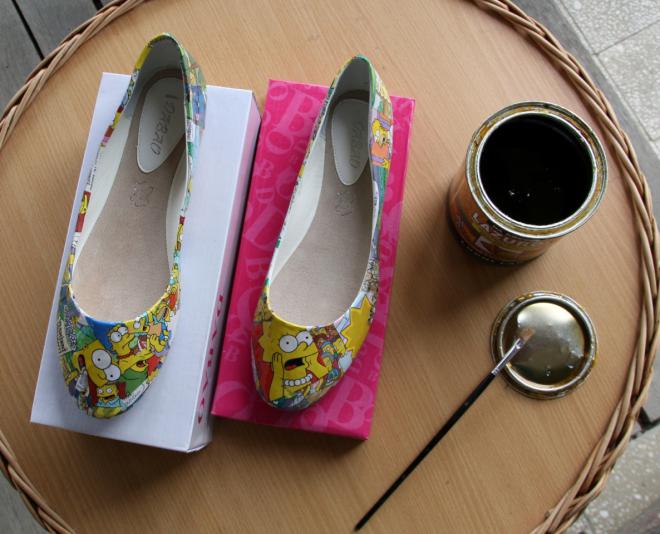
When they are completely covered we must leave them to dry thoroughly. Then we can paint them with the lacquer to make them nice and shiny. 


I hope you like them. :) And also that they will last some time...


Letter As Decoration

An oversized letter can revive any interior, whether hung on the wall or simply put on a shelf. Plus it´s fun making it!

Hi, I´m Peter and I´m making a big P. P for peace, obviously. 

1. Template

To prepare a template, visit your PC and find the appropriate font and point size. In my case it´s Georgia Bold. If you want to make a big letter that won´t fit on A4, you can hold some baking paper against the monitor and trace it. Then draw the letter twice on cardboard and cut out.


2. Construction

Next cut the sides and attach them using paper tape. Like this. 


3. Newspaper

After the whole construction is finished, we can move on to the most fun part. You tear a newspaper to pieces and prepare your glue. Dilute it with water so that it is easier to be apply wih brush.

4. The result 


This is how it looks after applying some white paint. We later finished it in gold paint as you can see in the first picture. 


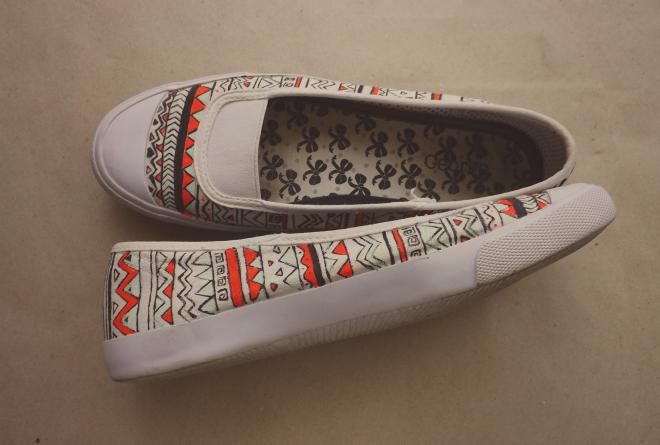
How I Painted My Balet Flats


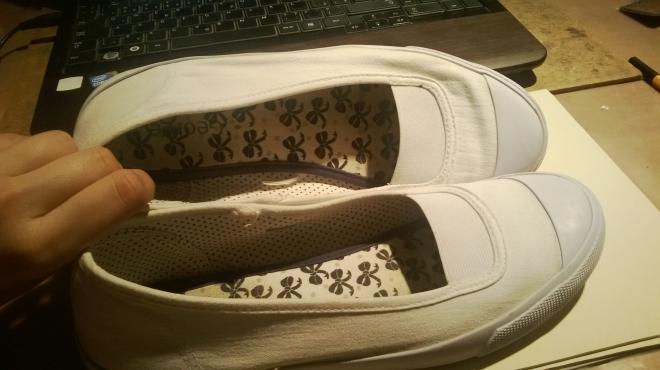
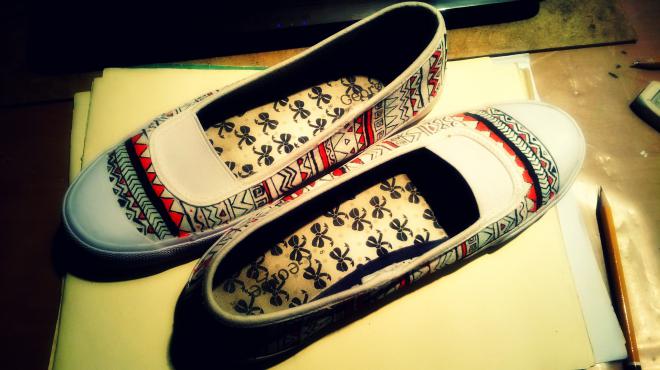
One afternoon my mom brought me these simple ballet flats. A bit dirty, but the washing machine did the trick and after drying up they were beautifully white. Too white IMO. Don´t get me wrong, I have nothing against white, but I'm not one of those admirable individuals who are able to keep the white stuff white for more than a week. And that is why I decided to paint them.


I chose an Aztec pattern for I´m in love with those these days ... and anyway nothing better occurred to me, since I have a limited number of colors for textiles.
In preparation, I visited  the internet looking for pictures of Aztec designs, but being this impatient, I soon decided to just create my own.
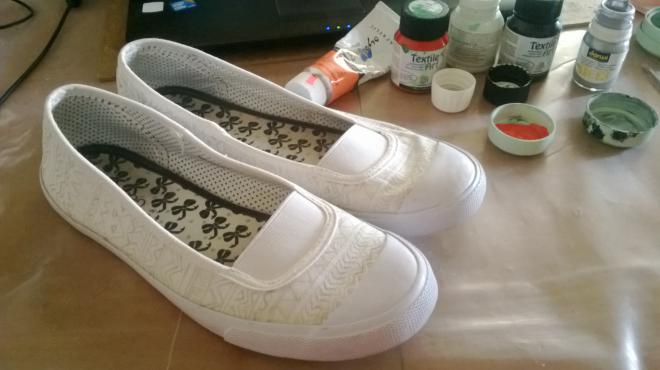
But thankfully I found some patience after all and my second step was to I draw pencil patterns on them BEFORE I started painting.


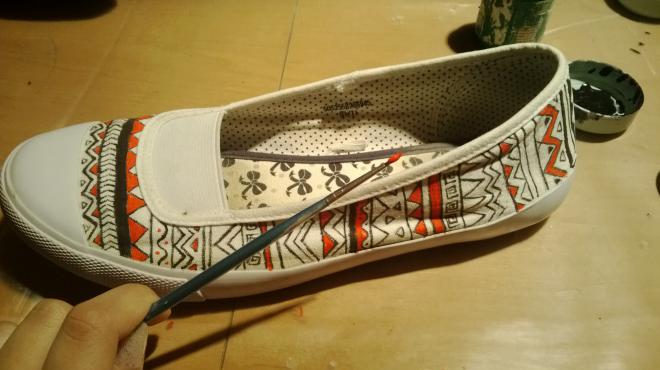
Painting.


Finished.


Since I can not imagine how I would iron thems, so I simply let the paint dry itself.
I hope they can survive for at least a week in use : D

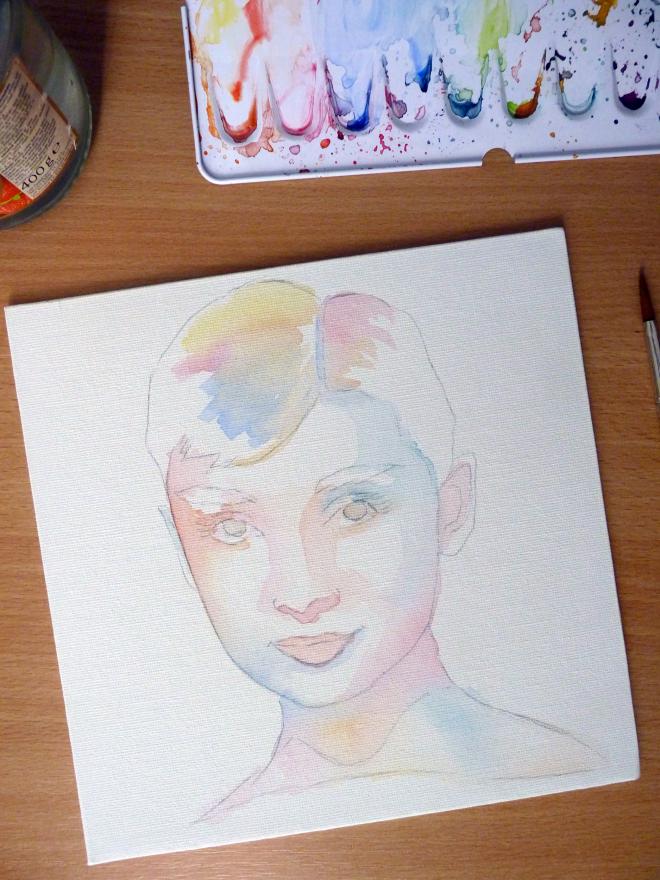
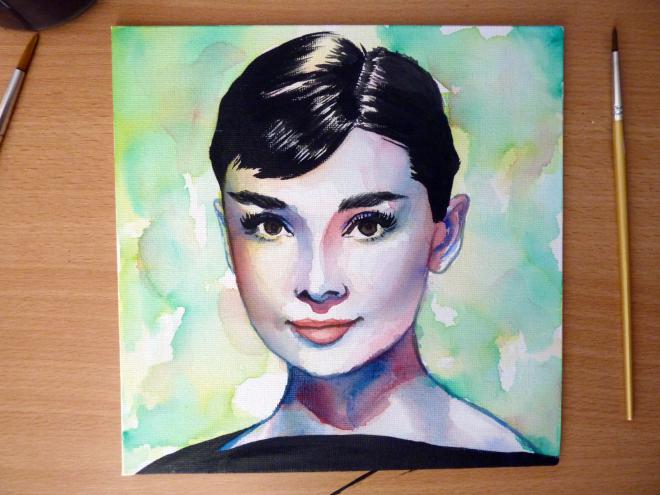
How I painted a portrait of Audrey Hepburn


Here is the result. If you are interested in the process, scroll down. 

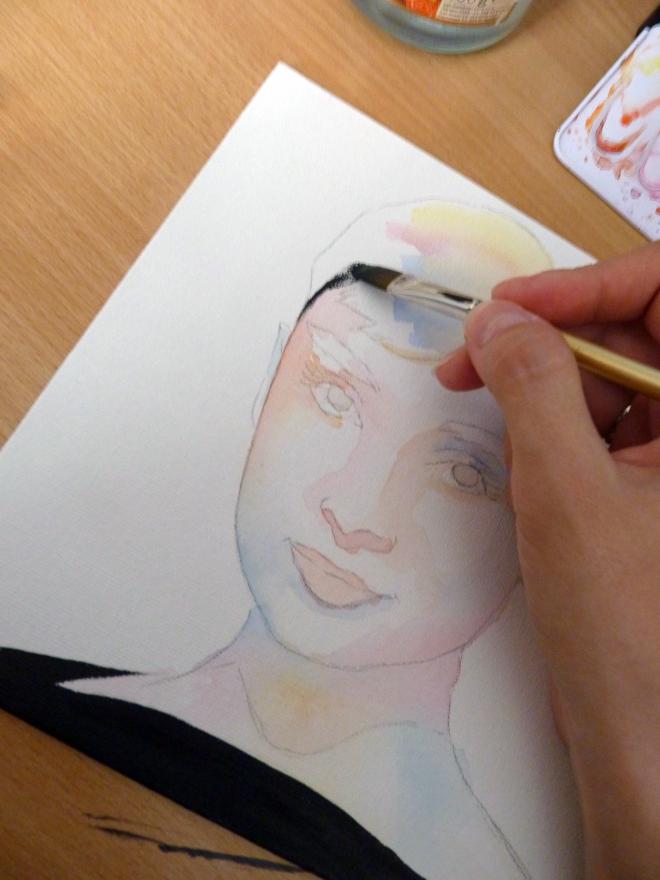
After drawing the outline I like to start with painting the shadows first. At this stage I use very light colors because they will add up easily. 


While the colors were drying up I painted the blacks. 

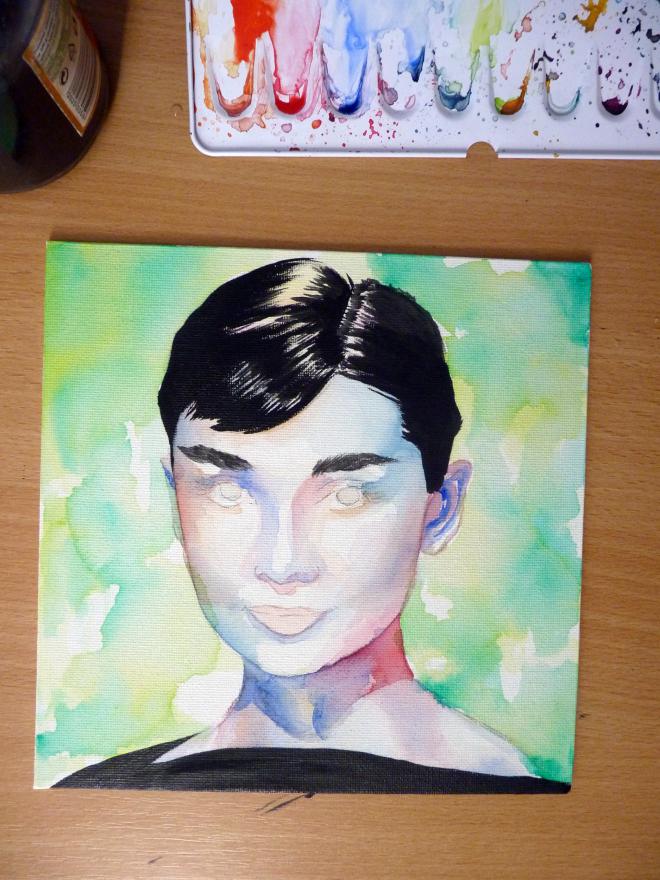
And back to colors. 

Fine details like the eyes take some time. 

Here´s the result. 


Look How This Beautiful Wood Bowl Was Made


Our friend Mark handmade this beautiful bowl and kindly agreed to share the manufacturing process with us. Sit back and enjoy. :)

Firstly we need to draw an outline on our nice piece of wood.
Once we´ve done that we start work with the gouge. This takes some time and patience, but I´m lucky because i like to do it. :) 
Next we cut a small heart inside a heart (optional).
Then we need to use the bandsaw. Careful here!
Then we cut off the outside.
This is how the bowl looks before painting. 

And now the easiest part. :)

And finally the finished product. What do you think?